Step-by-Step Guide: How to Install an EV Charger at Home
Share
Introduction
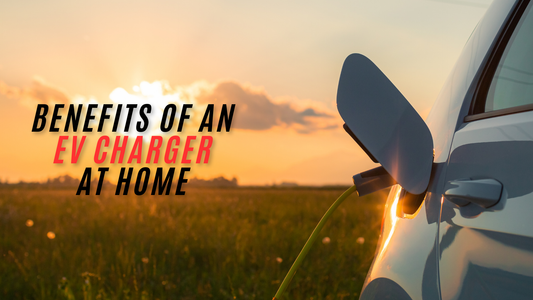
Installing an EV charger at home brings the convenience of recharging your vehicle on your schedule, eliminating trips to public charging stations. While the process may seem complex, it’s manageable with the right preparation and professional guidance. This guide provides a step-by-step overview of installing a home EV charger, from planning and permits to choosing the right installer.
1. Preparing for Home EV Charger Installation
Before installing an EV charger, it’s essential to evaluate your home’s electrical setup and choose the right location:
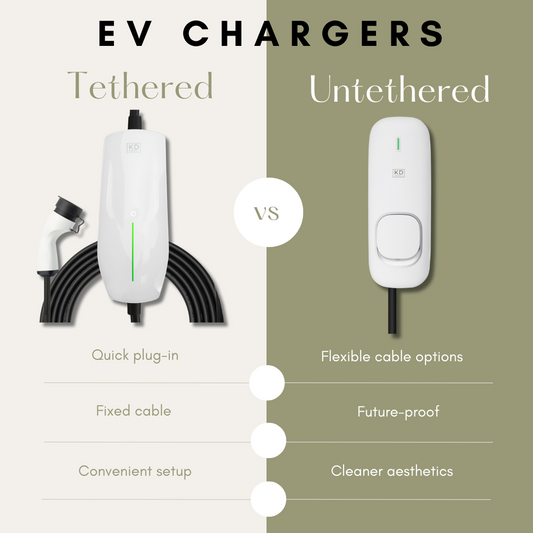
- Assessing Electrical Capacity: Check whether your home’s electrical system can handle the power demand of a Level 2 charger. Many EV chargers, such as KD Energy’s 11kW model, require a 240V outlet, which may necessitate a panel upgrade if your existing setup lacks capacity.
- Choosing a Location: Consider installing the charger in a spot that’s convenient for regular charging, such as a garage wall or driveway. Ensure the area is accessible and allows the charging cable to reach your EV’s charging port easily.
KD Energy’s chargers come with flexible installation options for wall or ground mounting, making it easy to find a suitable location in most residential setups. Learn more about KD Energy’s versatile home chargers here.
2. Obtaining Permits and Approvals
In some areas, installing a Level 2 EV charger may require permits to comply with local electrical codes:
- Check Local Regulations: Reach out to your local council or permit office to verify whether a permit is required for the installation. Permits are typically mandatory if any electrical upgrades, like a new 240V outlet or electrical panel, are needed.
- Plan for an Inspection: Some regions require a post-installation inspection to ensure that the setup meets safety and code requirements. Your installer can guide you on this process and help arrange the inspection if needed.
Working with a licensed installer who is familiar with local regulations can streamline the permit process, ensuring compliance and safety.
3. Choosing a Certified Installer
Hiring a professional installer is recommended for safe, code-compliant installation. Here’s what to look for in an installer:
- Relevant Certification: Select an installer certified in EV charger installations. They’ll be familiar with the necessary safety measures and installation standards.
- Knowledge of EV Charging Requirements: An experienced installer can help you assess your home’s electrical needs, advise on the best charger placement, and recommend any necessary upgrades.
- Warranty and Post-Installation Support: Many certified installers offer warranties on their work, providing peace of mind and support should any issues arise in the future.
KD Energy recommends working with certified installers to ensure safety and proper installation. Our chargers come with straightforward installation guidelines, and our team can assist in connecting you with trusted professionals.
4. Installation Day: What to Expect
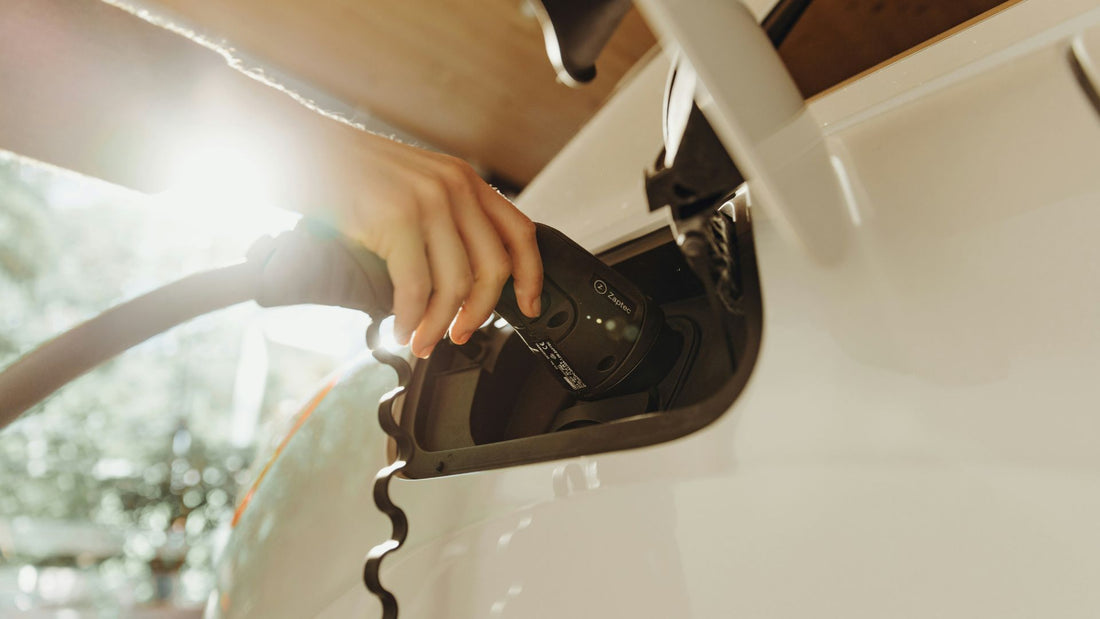
On installation day, your installer will handle the setup process, from preparing the electrical connections to securing the charger in place:
- Wiring the Charger: The installer will connect the charger to the 240V outlet or electrical panel, following safety protocols to ensure secure connections.
- Mounting the Charger: Your charger will be mounted on the wall or ground, depending on your chosen location. KD Energy’s chargers come with versatile mounting options, allowing for secure installation in various spaces.
- Testing and Final Safety Checks: Once the charger is installed, your installer will conduct a series of tests to confirm proper functionality and safety, ensuring that your charger is ready for use.
This process is typically completed within a few hours, although additional electrical work may extend the timeline.
5. Post-Installation Tips and Maintenance
Maintaining your EV charger is essential to ensure its longevity and performance:
- Regular Inspections: Periodically check the charging cable and connections for signs of wear or damage, especially if the charger is installed outdoors.
- Keep the Area Clean: Dust and debris can accumulate around the charger, potentially impacting performance. Clean the area around the charger to maintain optimal functionality.
- Schedule Routine Servicing: If you notice any irregularities in charging speed or performance, schedule a check-up with your installer to address any issues early.
KD Energy’s chargers are designed to withstand various environmental conditions, with IP66 water resistance and IK10 impact resistance, making them durable and low-maintenance options for home use. Explore KD Energy’s durable and reliable EV chargers here.
Conclusion
Installing a home EV charger is a straightforward process with the right planning and professional assistance. From selecting the installation location to finalizing permits and inspections, each step ensures your charger is set up safely and efficiently. For an affordable, reliable home charging solution, KD Energy’s 11kW charger offers the performance and flexibility you need. Learn more about KD Energy’s charging options and enjoy the convenience of home EV charging tailored to your lifestyle.